Recovering a vehicle with engine failure is always a gamble. This project involved diagnosing a misfire on a recently purchased Audi, which turned into a comprehensive engine restoration and “future-proofing” rebuild.
Project Goal: Diagnose a cylinder misfire, repair the immediate damage, and perform preventative maintenance to ensure long-term reliability.
Technical Snapshot
| Feature | Details |
|---|---|
| Vehicle | 2014 Audi A5 8T (160,000 km) |
| Engine | 2.0 TFSI CJEB (EA888 Gen 3) |
| Cost / ROI | €800 parts cost vs. ~€4,000 for a replacement engine |
| Timeline | 3 Weekends |
| Outcome | 12.5 bar compression across all cylinders |
Tools & Equipment
Beyond standard hand tools, this rebuild required precision measurement and diagnostic equipment:
- Diagnostics: VCDS, Compression Tester, Leakdown Tester.
- Precision Metrology: Dial Bore Gauge (to measure cylinder wear), Micrometer, Precision Straight Edge (for deck flatness).
- Assembly: Valve Spring Compressor, RTV Sealant, Engine Assembly Lube.
Factory Spec Verification
To ensure the repair met professional standards, I utilized the Official Audi Workshop Manual—the same reference used by authorized dealerships. Every critical surface was measured against factory tolerances. I verified cylinder bore ovality, deck flatness, and valve dimensions to confirm they met the minimum specifications before proceeding with reassembly.
Discovery
I frequently monitor marketplaces for vehicles with mechanical defects. This specific Audi didn’t trigger my usual search alerts due to a poorly worded listing title, but I found it manually after a deal on another car fell through.
The car was sold with a “motor damage” condition—specifically running on only 3 cylinders. Having repaired similar issues before, I negotiated the purchase and brought it into my home workshop.
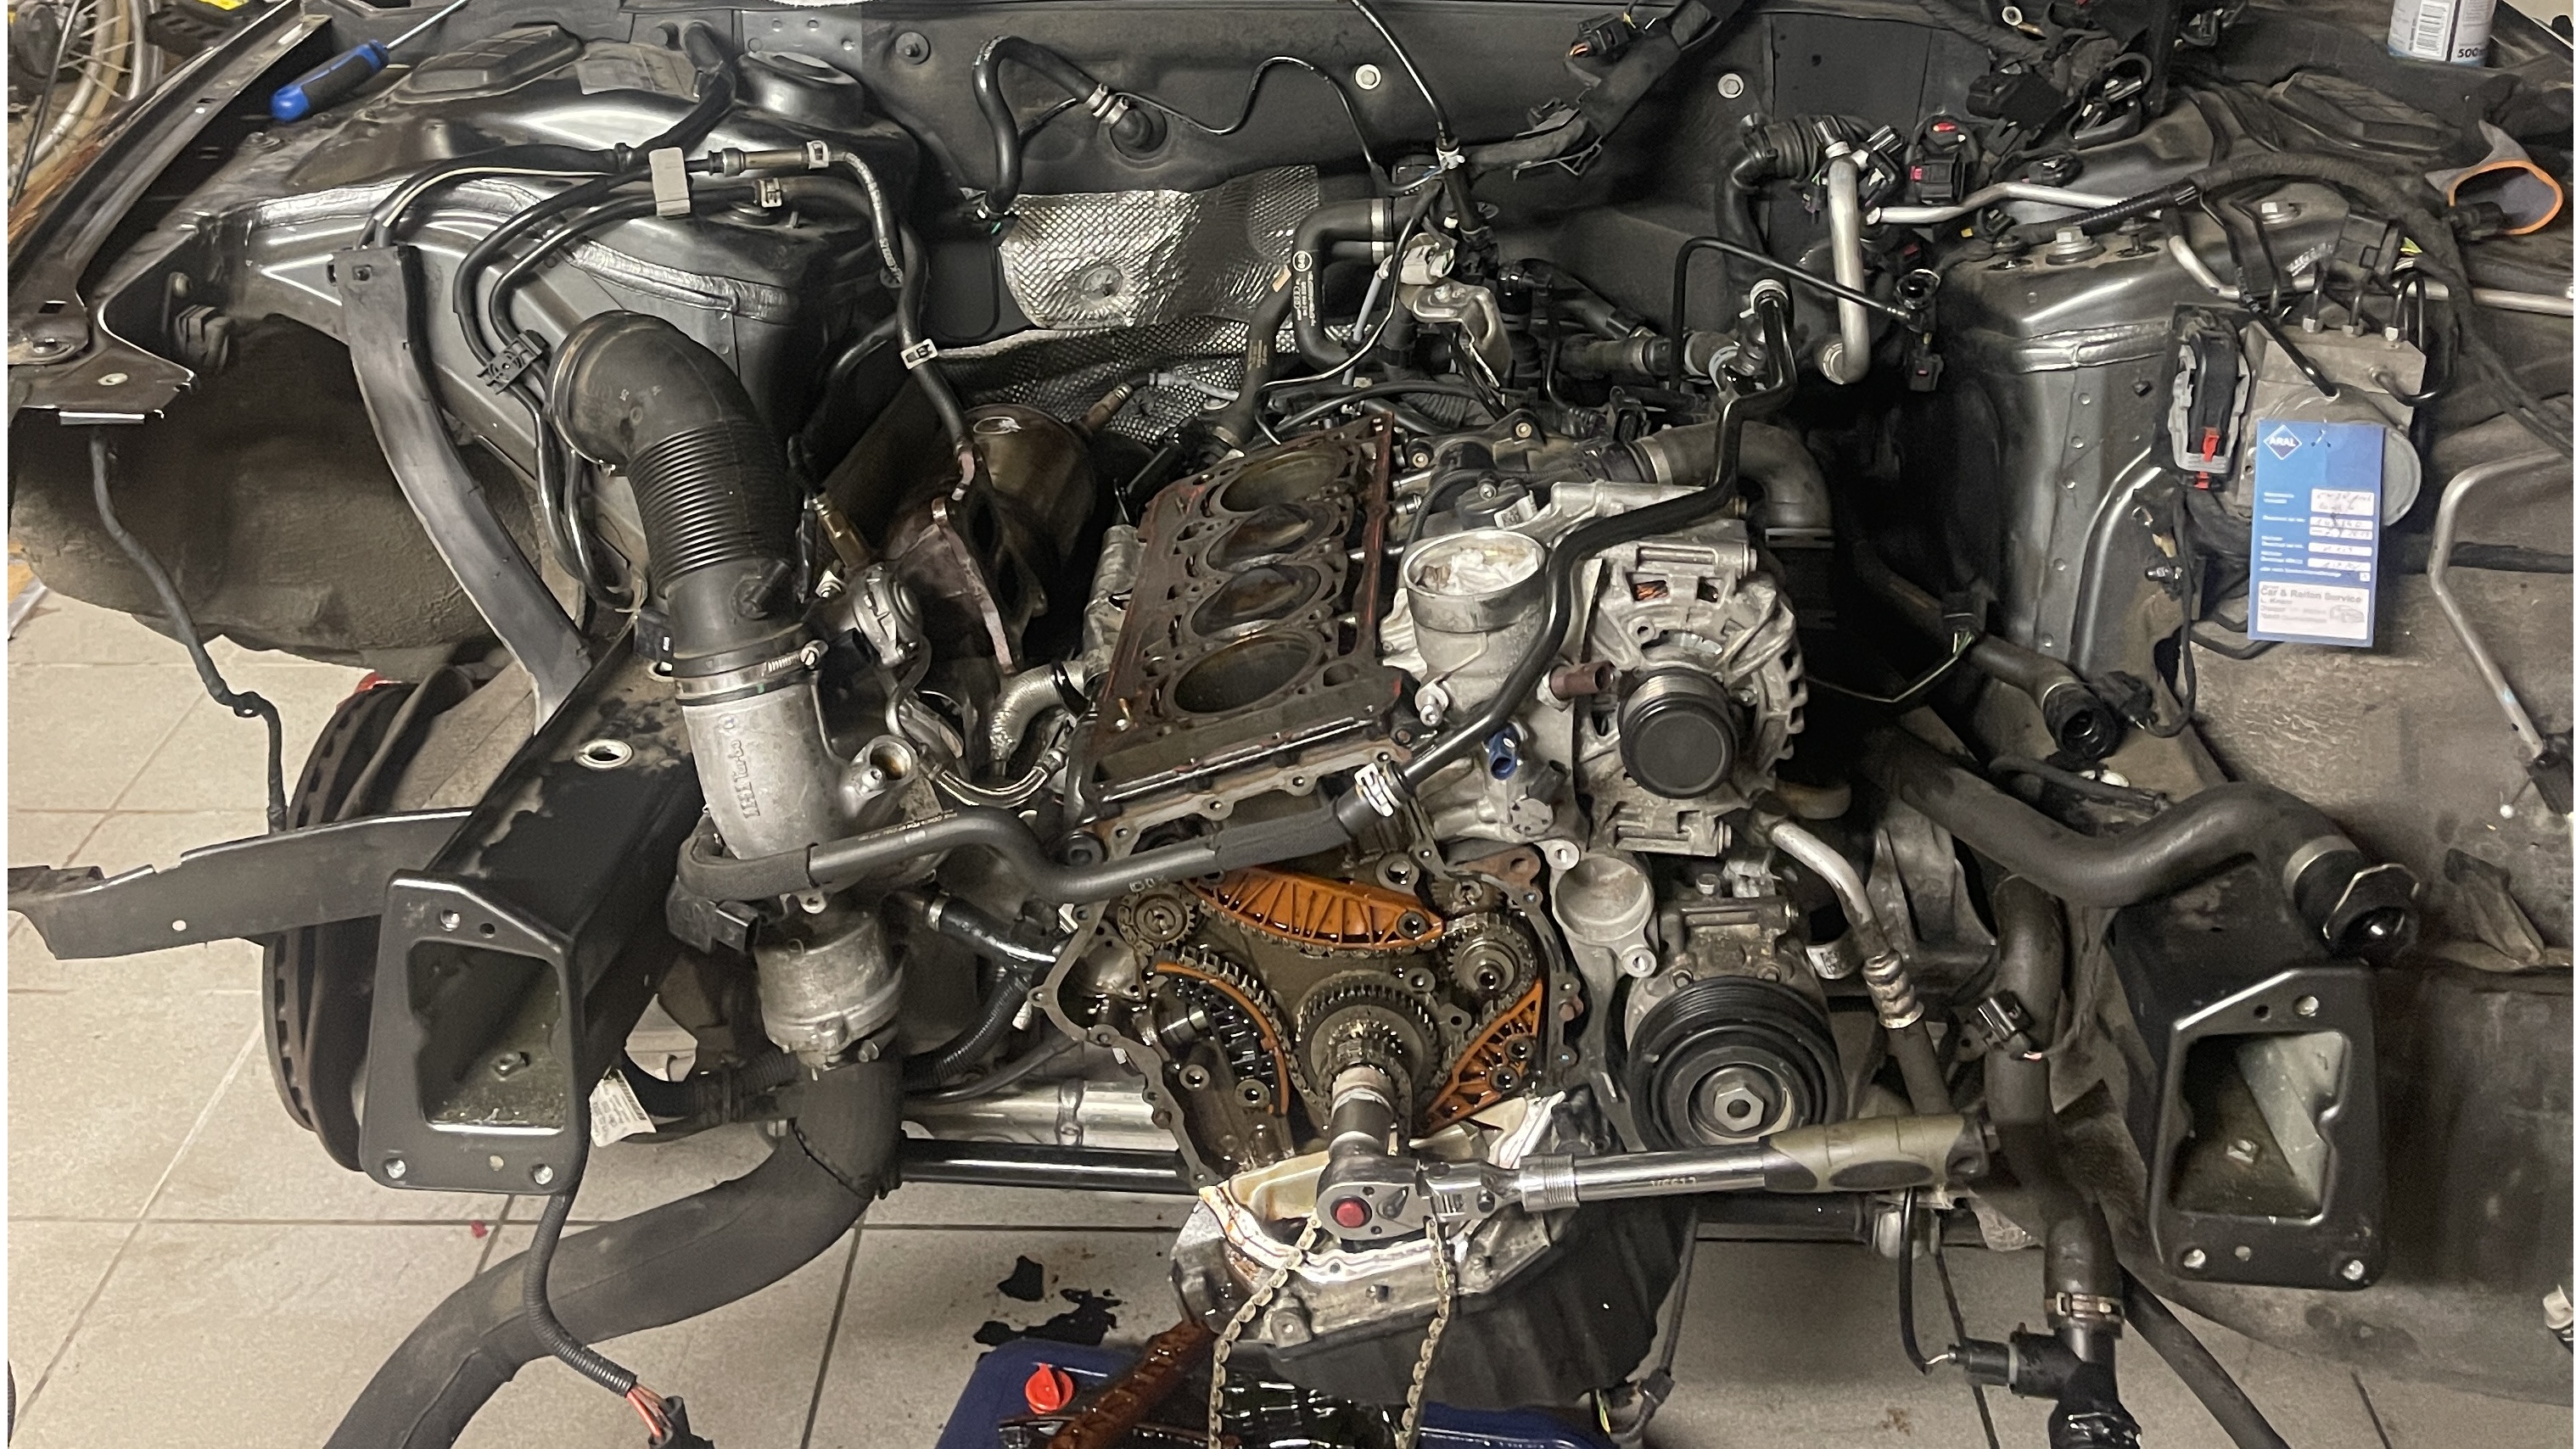
Diagnosis
The initial diagnosis was tricky. Usually, a dead cylinder is caused by something obvious like a hole in a valve or a blown head gasket. However, upon disassembly and removal of the cylinder head, the root cause wasn’t immediately visible.
After a meticulous inspection of the valve train, I found the culprit:
- The Failure: A single valve spring looked irregular.
- The Cause: The valve stem itself had broken, preventing the valve from closing completely.
- The Result: Massive compression loss in that cylinder, causing the misfire.
| In-engine (hard to diagnose) | Removed (confirmed failure) |
|---|---|
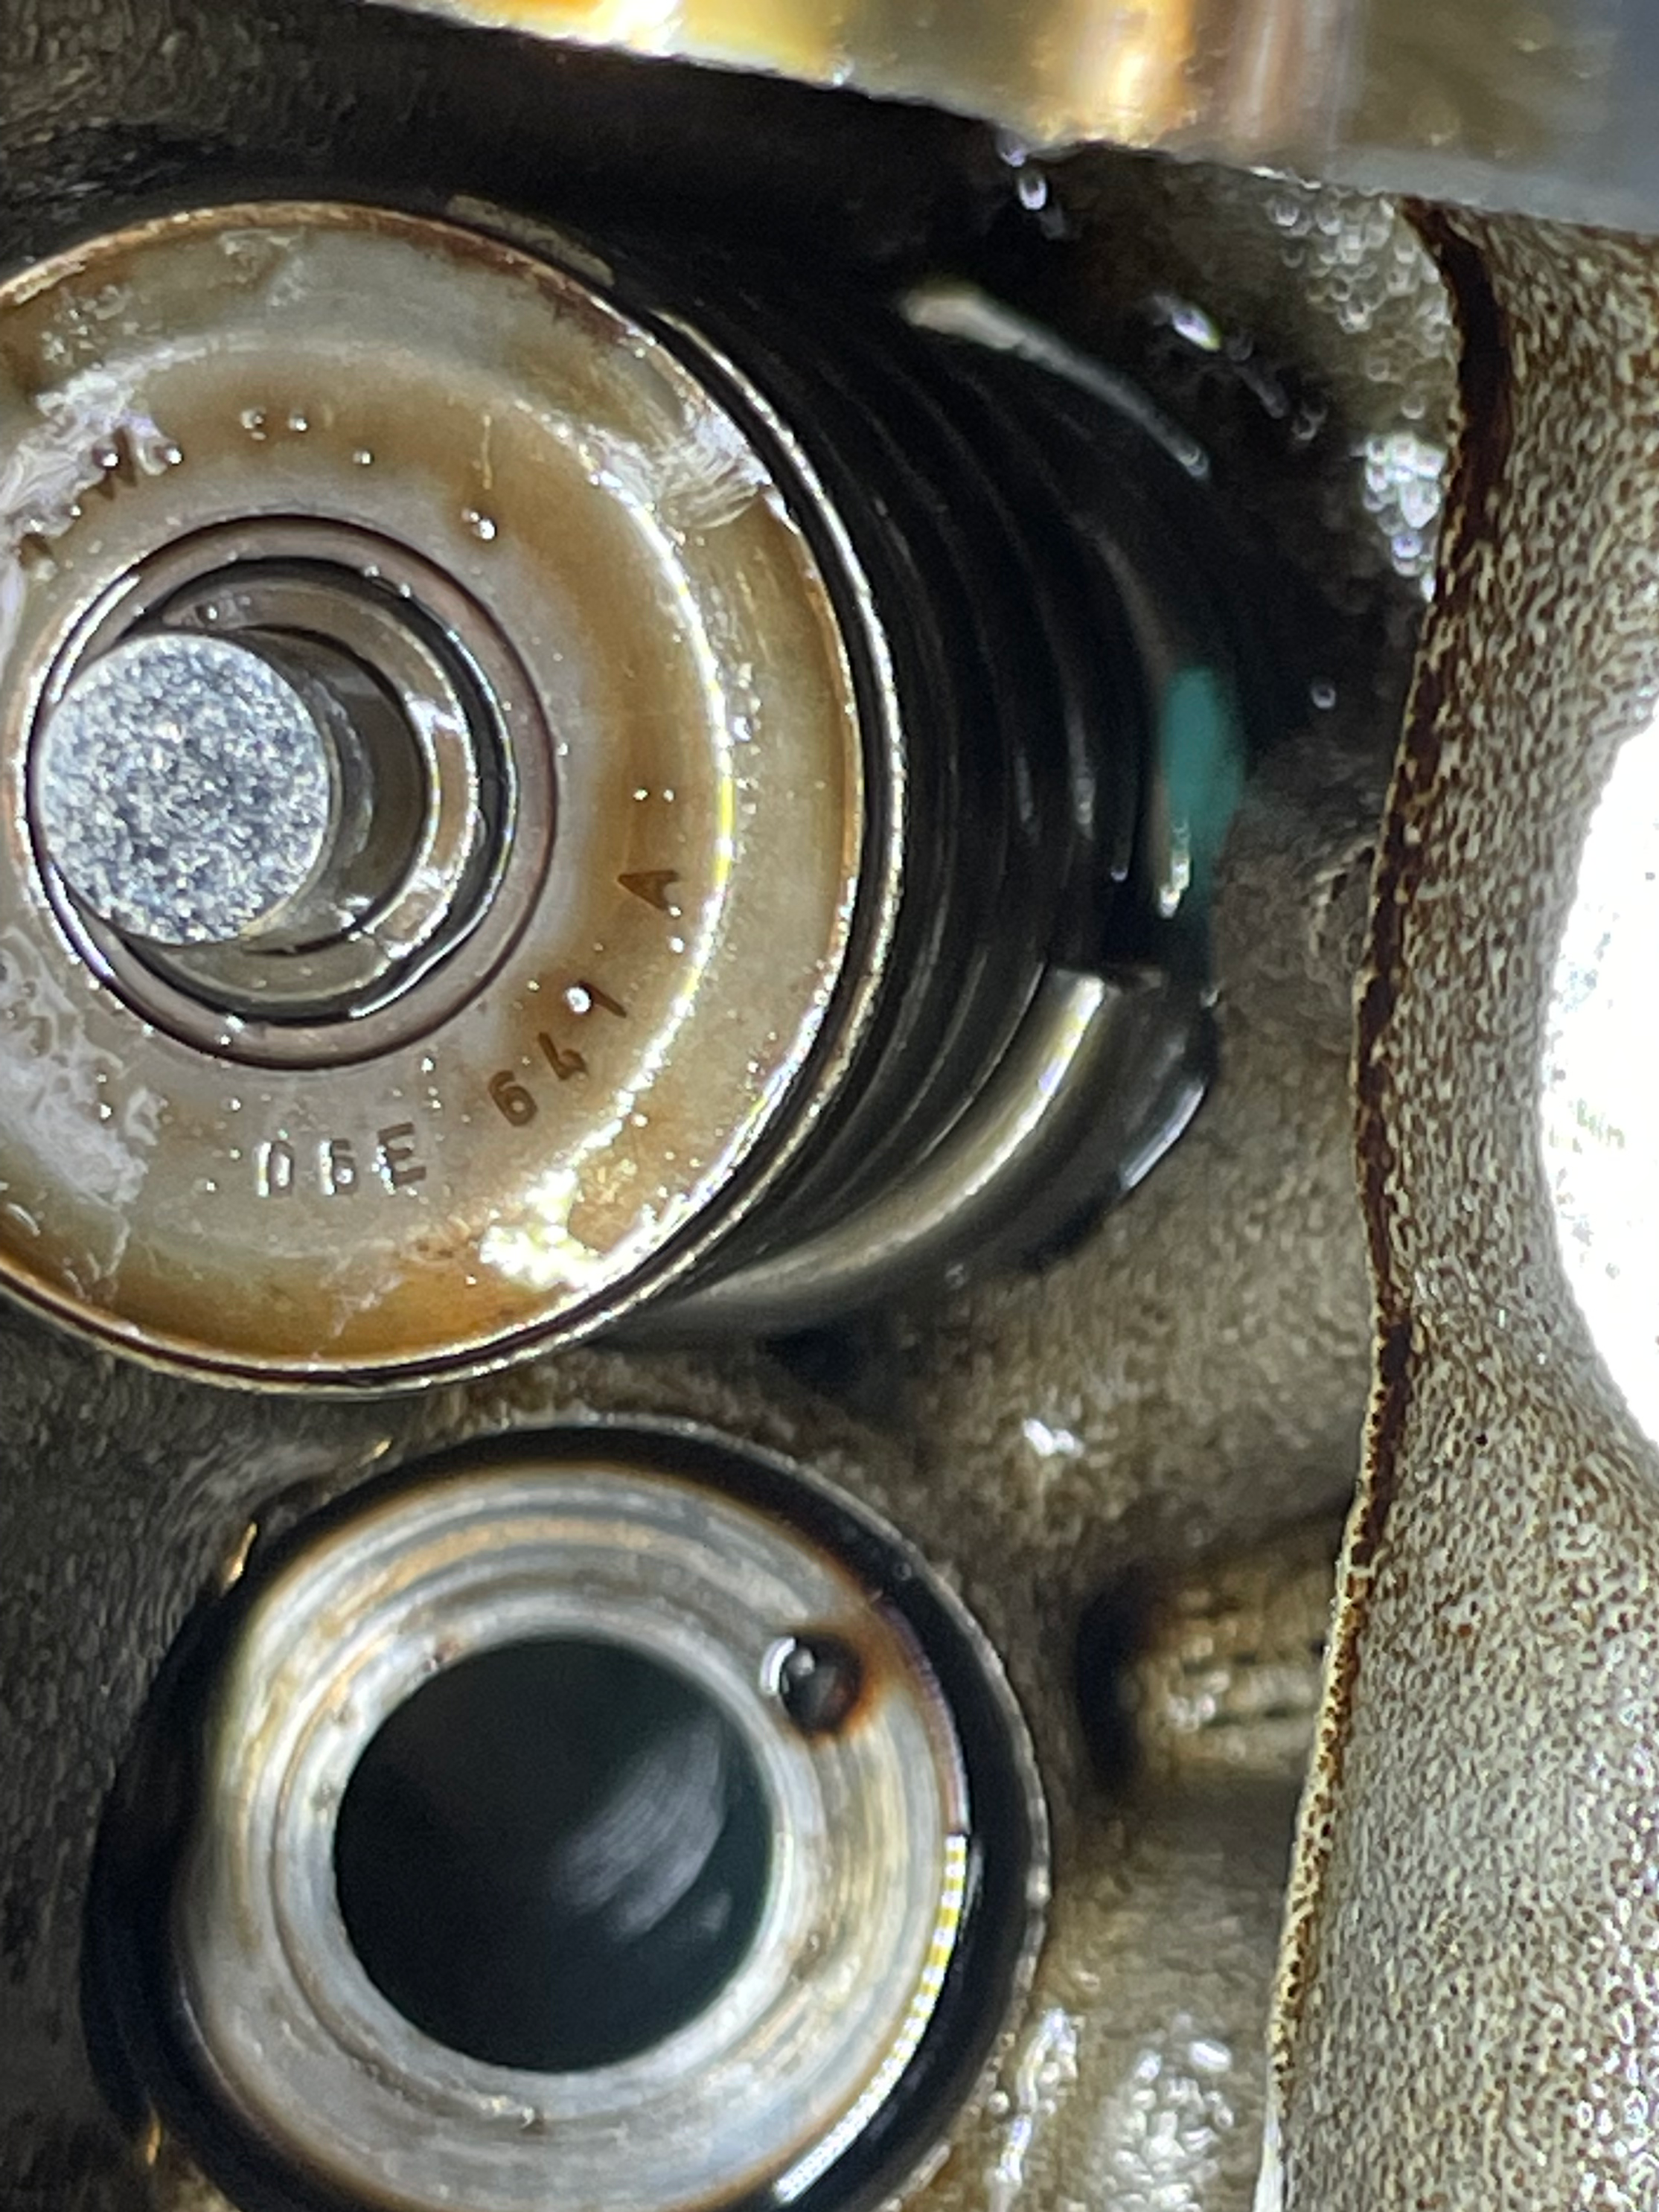 |  |
The Scope Creep (Preventative Upgrades)
Once the cylinder head was off, I had to decide whether to do a “quick fix” or a proper restoration. Since I typically keep my cars for 2-3 years, I opted for reliability over speed.
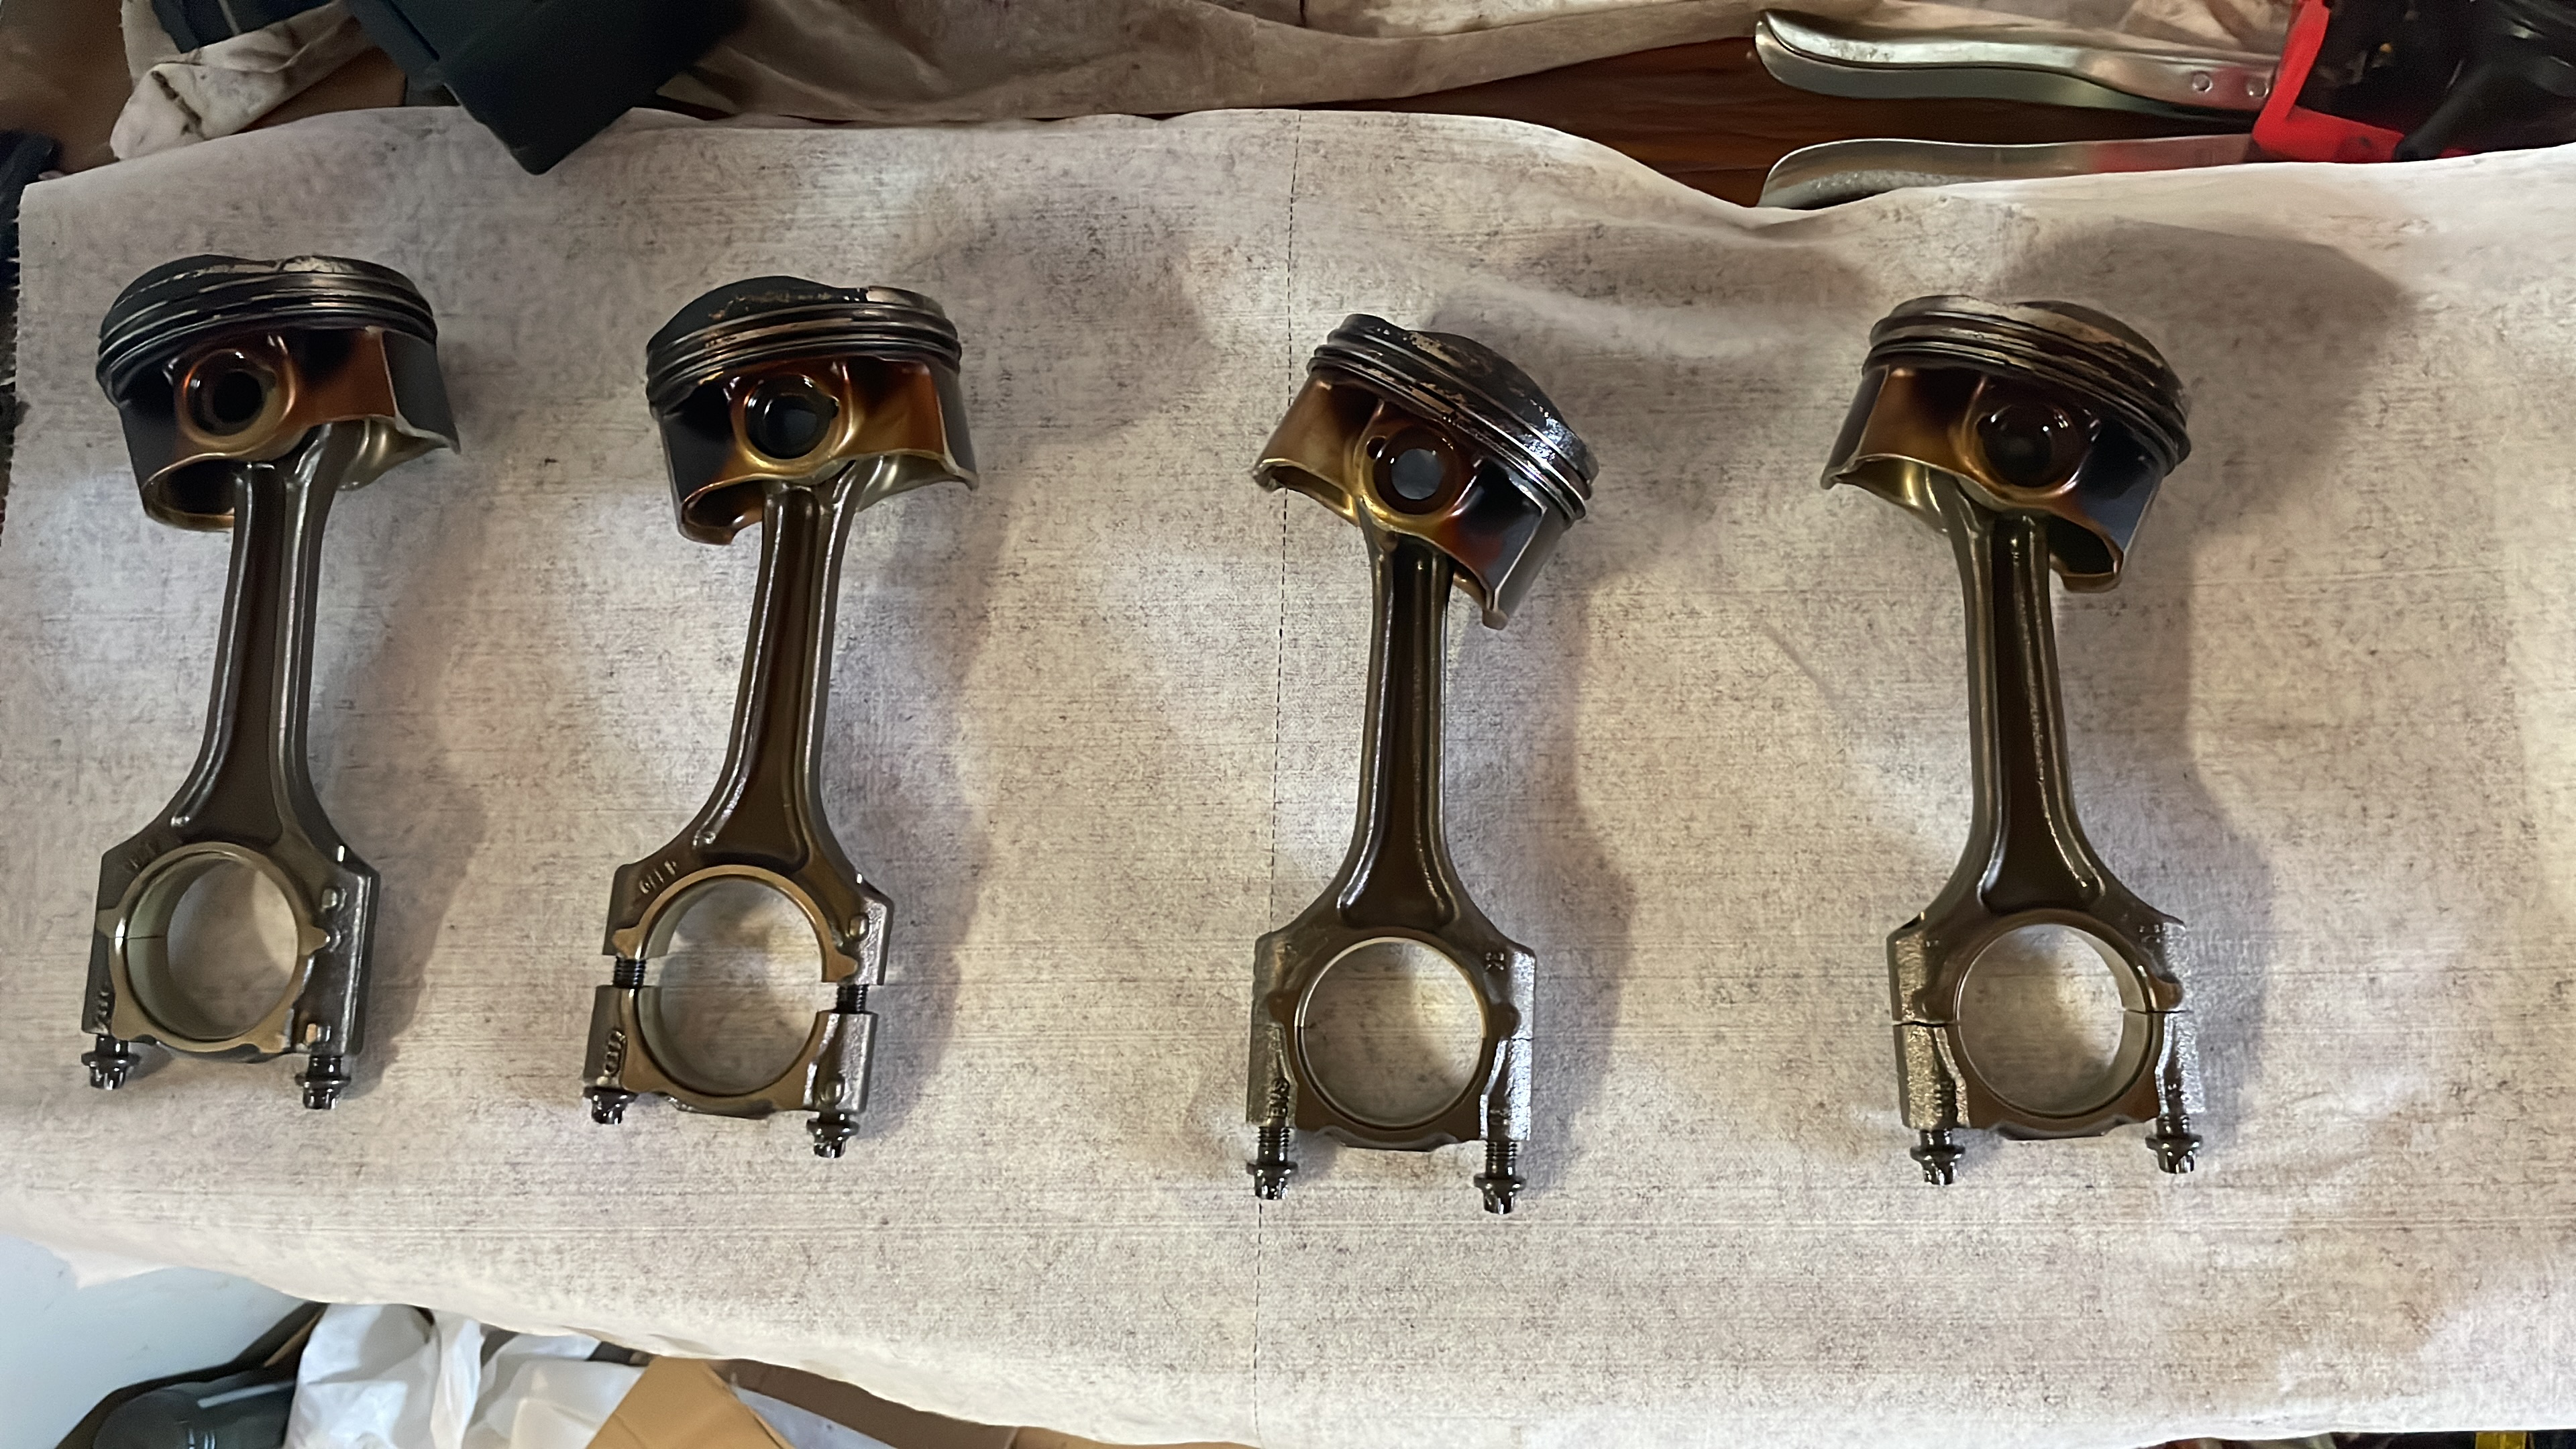
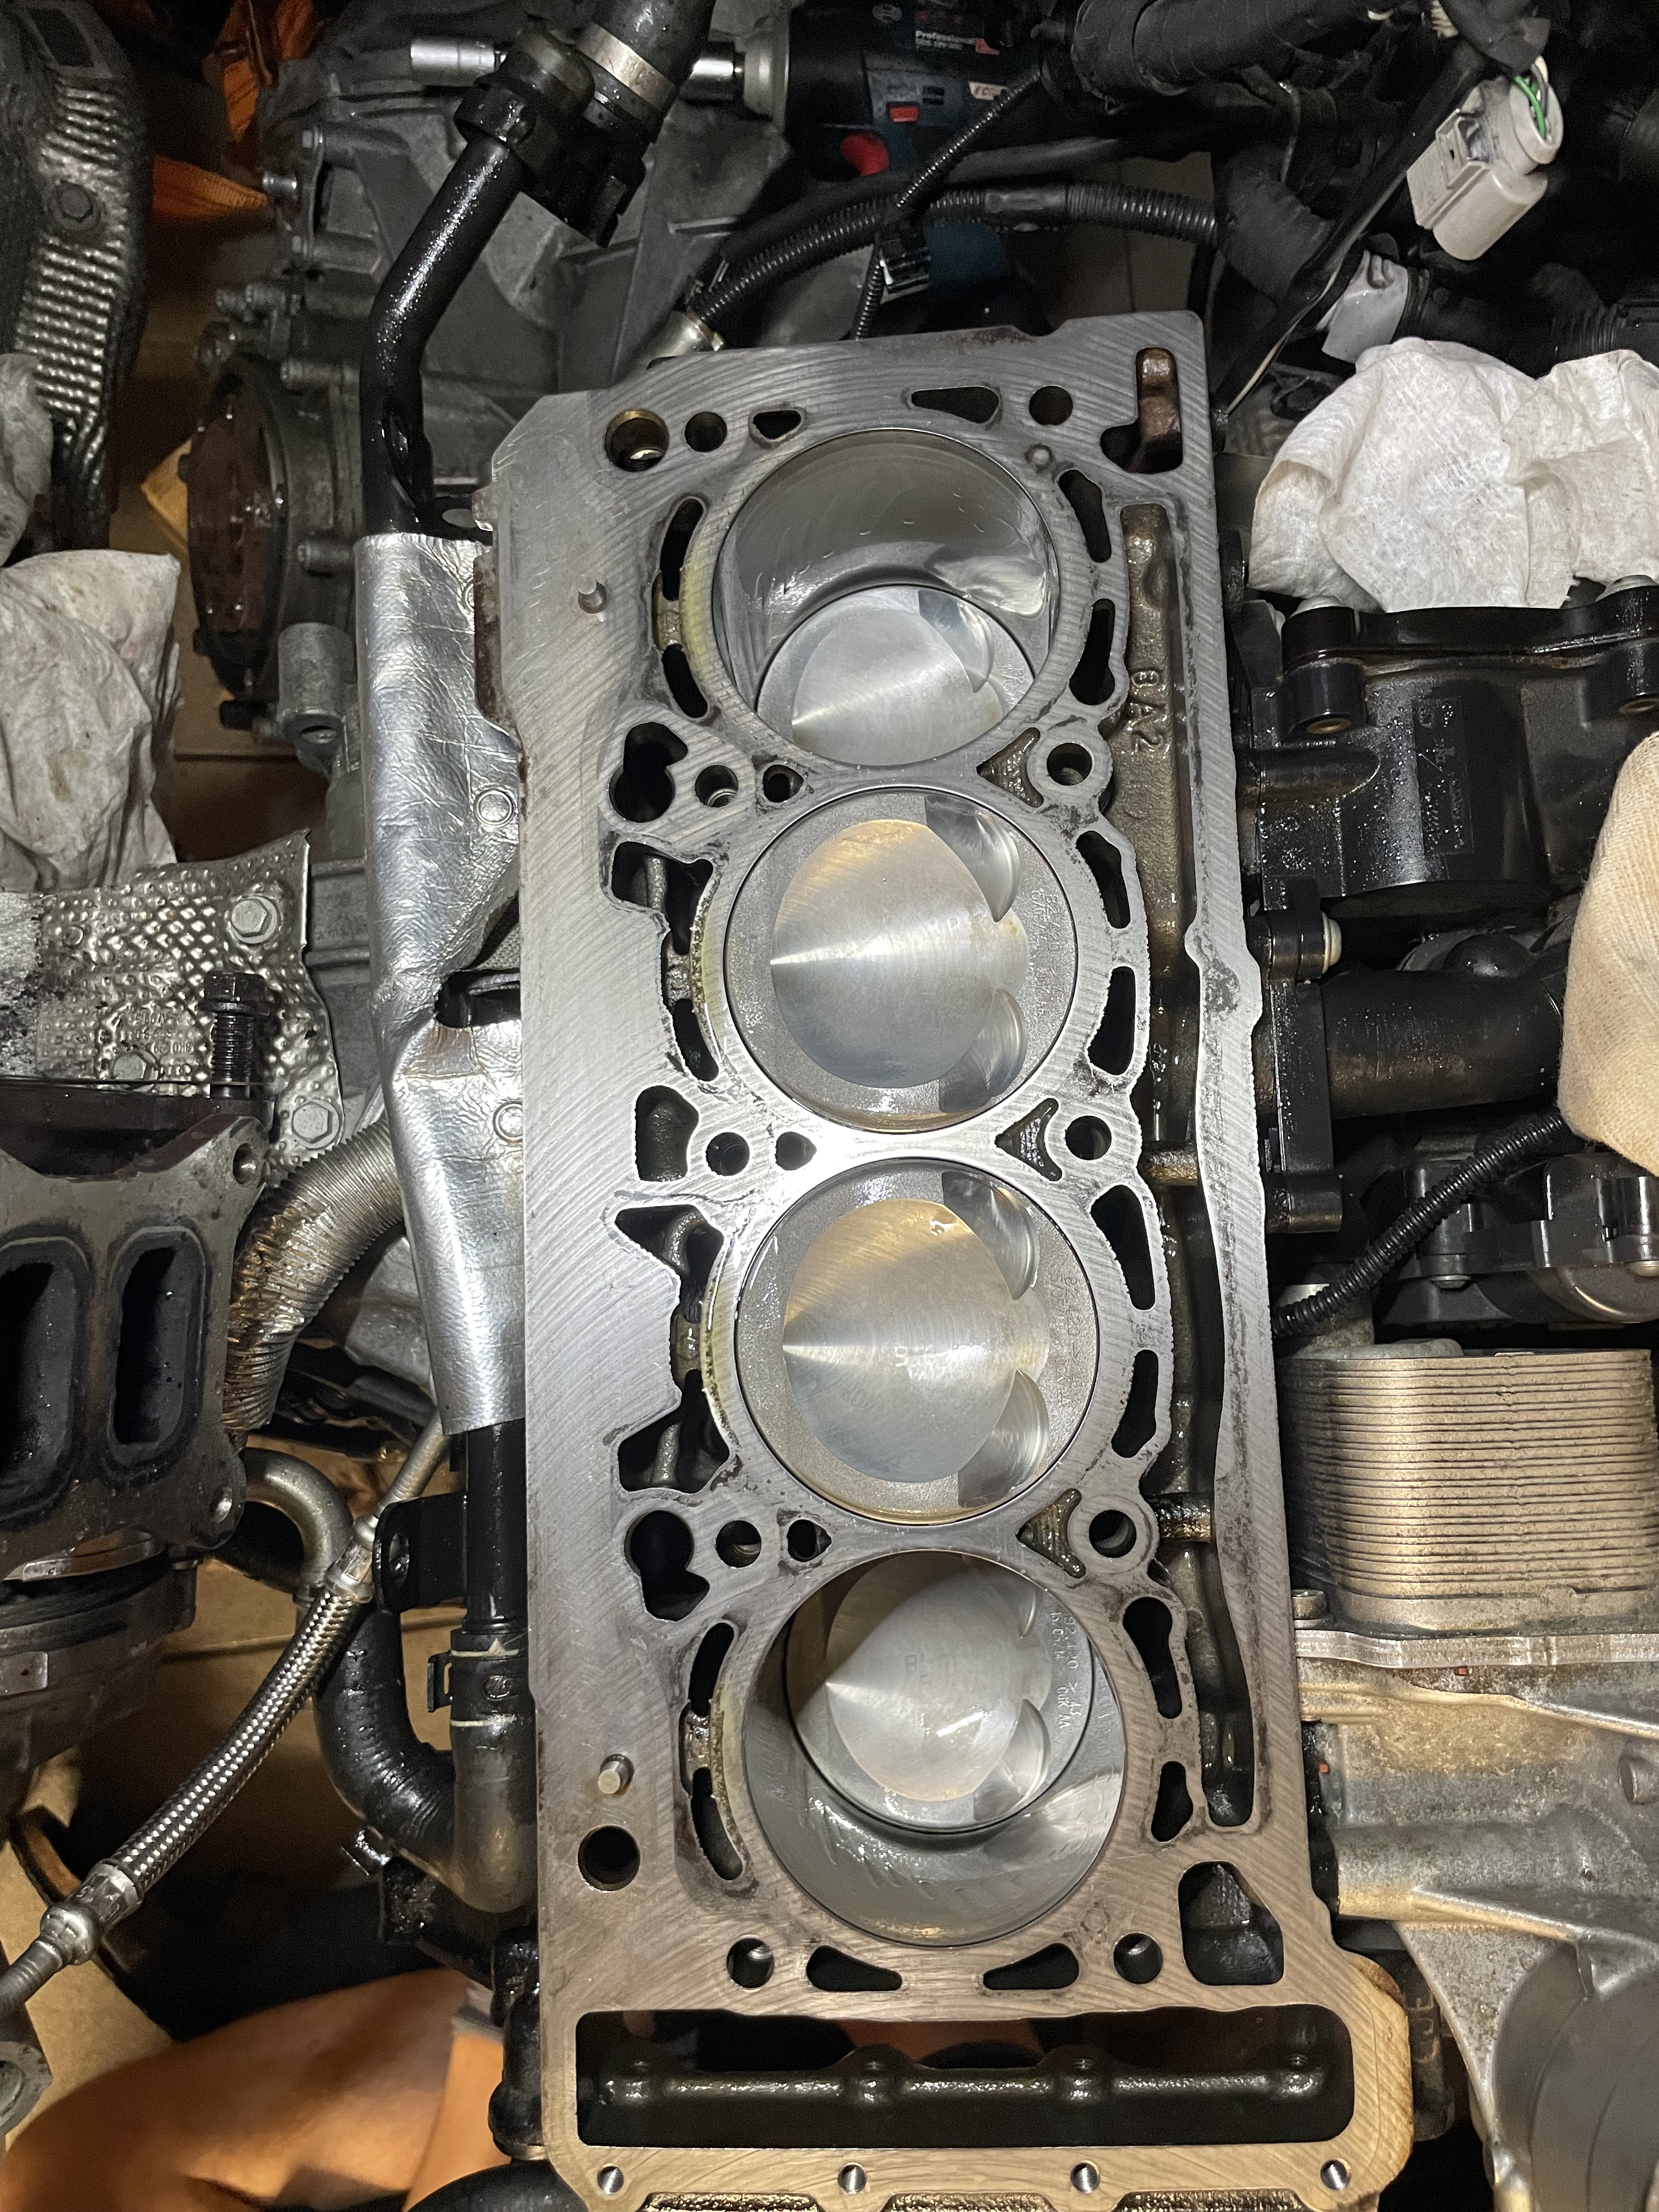
1. Piston Rings & Oil Consumption
I decided to replace the piston rings while the engine was open. This is a significant addition to the scope as it requires disconnecting the transmission or pulling the engine entirely.
- Why it mattered: Upon inspection, the engine still had the “old style” factory rings. These are notorious for clogging with carbon deposits, leading to excessive oil consumption and eventual engine failure.
- Outcome: Replacing them now likely saved the engine from a common death later in its life.
2. Valve Refurbishment
During the reassembly and valve lapping process, I noticed heavy pitting on the exhaust valves. While I could have re-used them, I decided to pause the project for a week (despite a tight schedule with the parallel T2000 project) to order brand new exhaust valves.
To document progress, I compared the cylinder head before and after cleaning:
| Before cleaning | After cleaning |
|---|---|
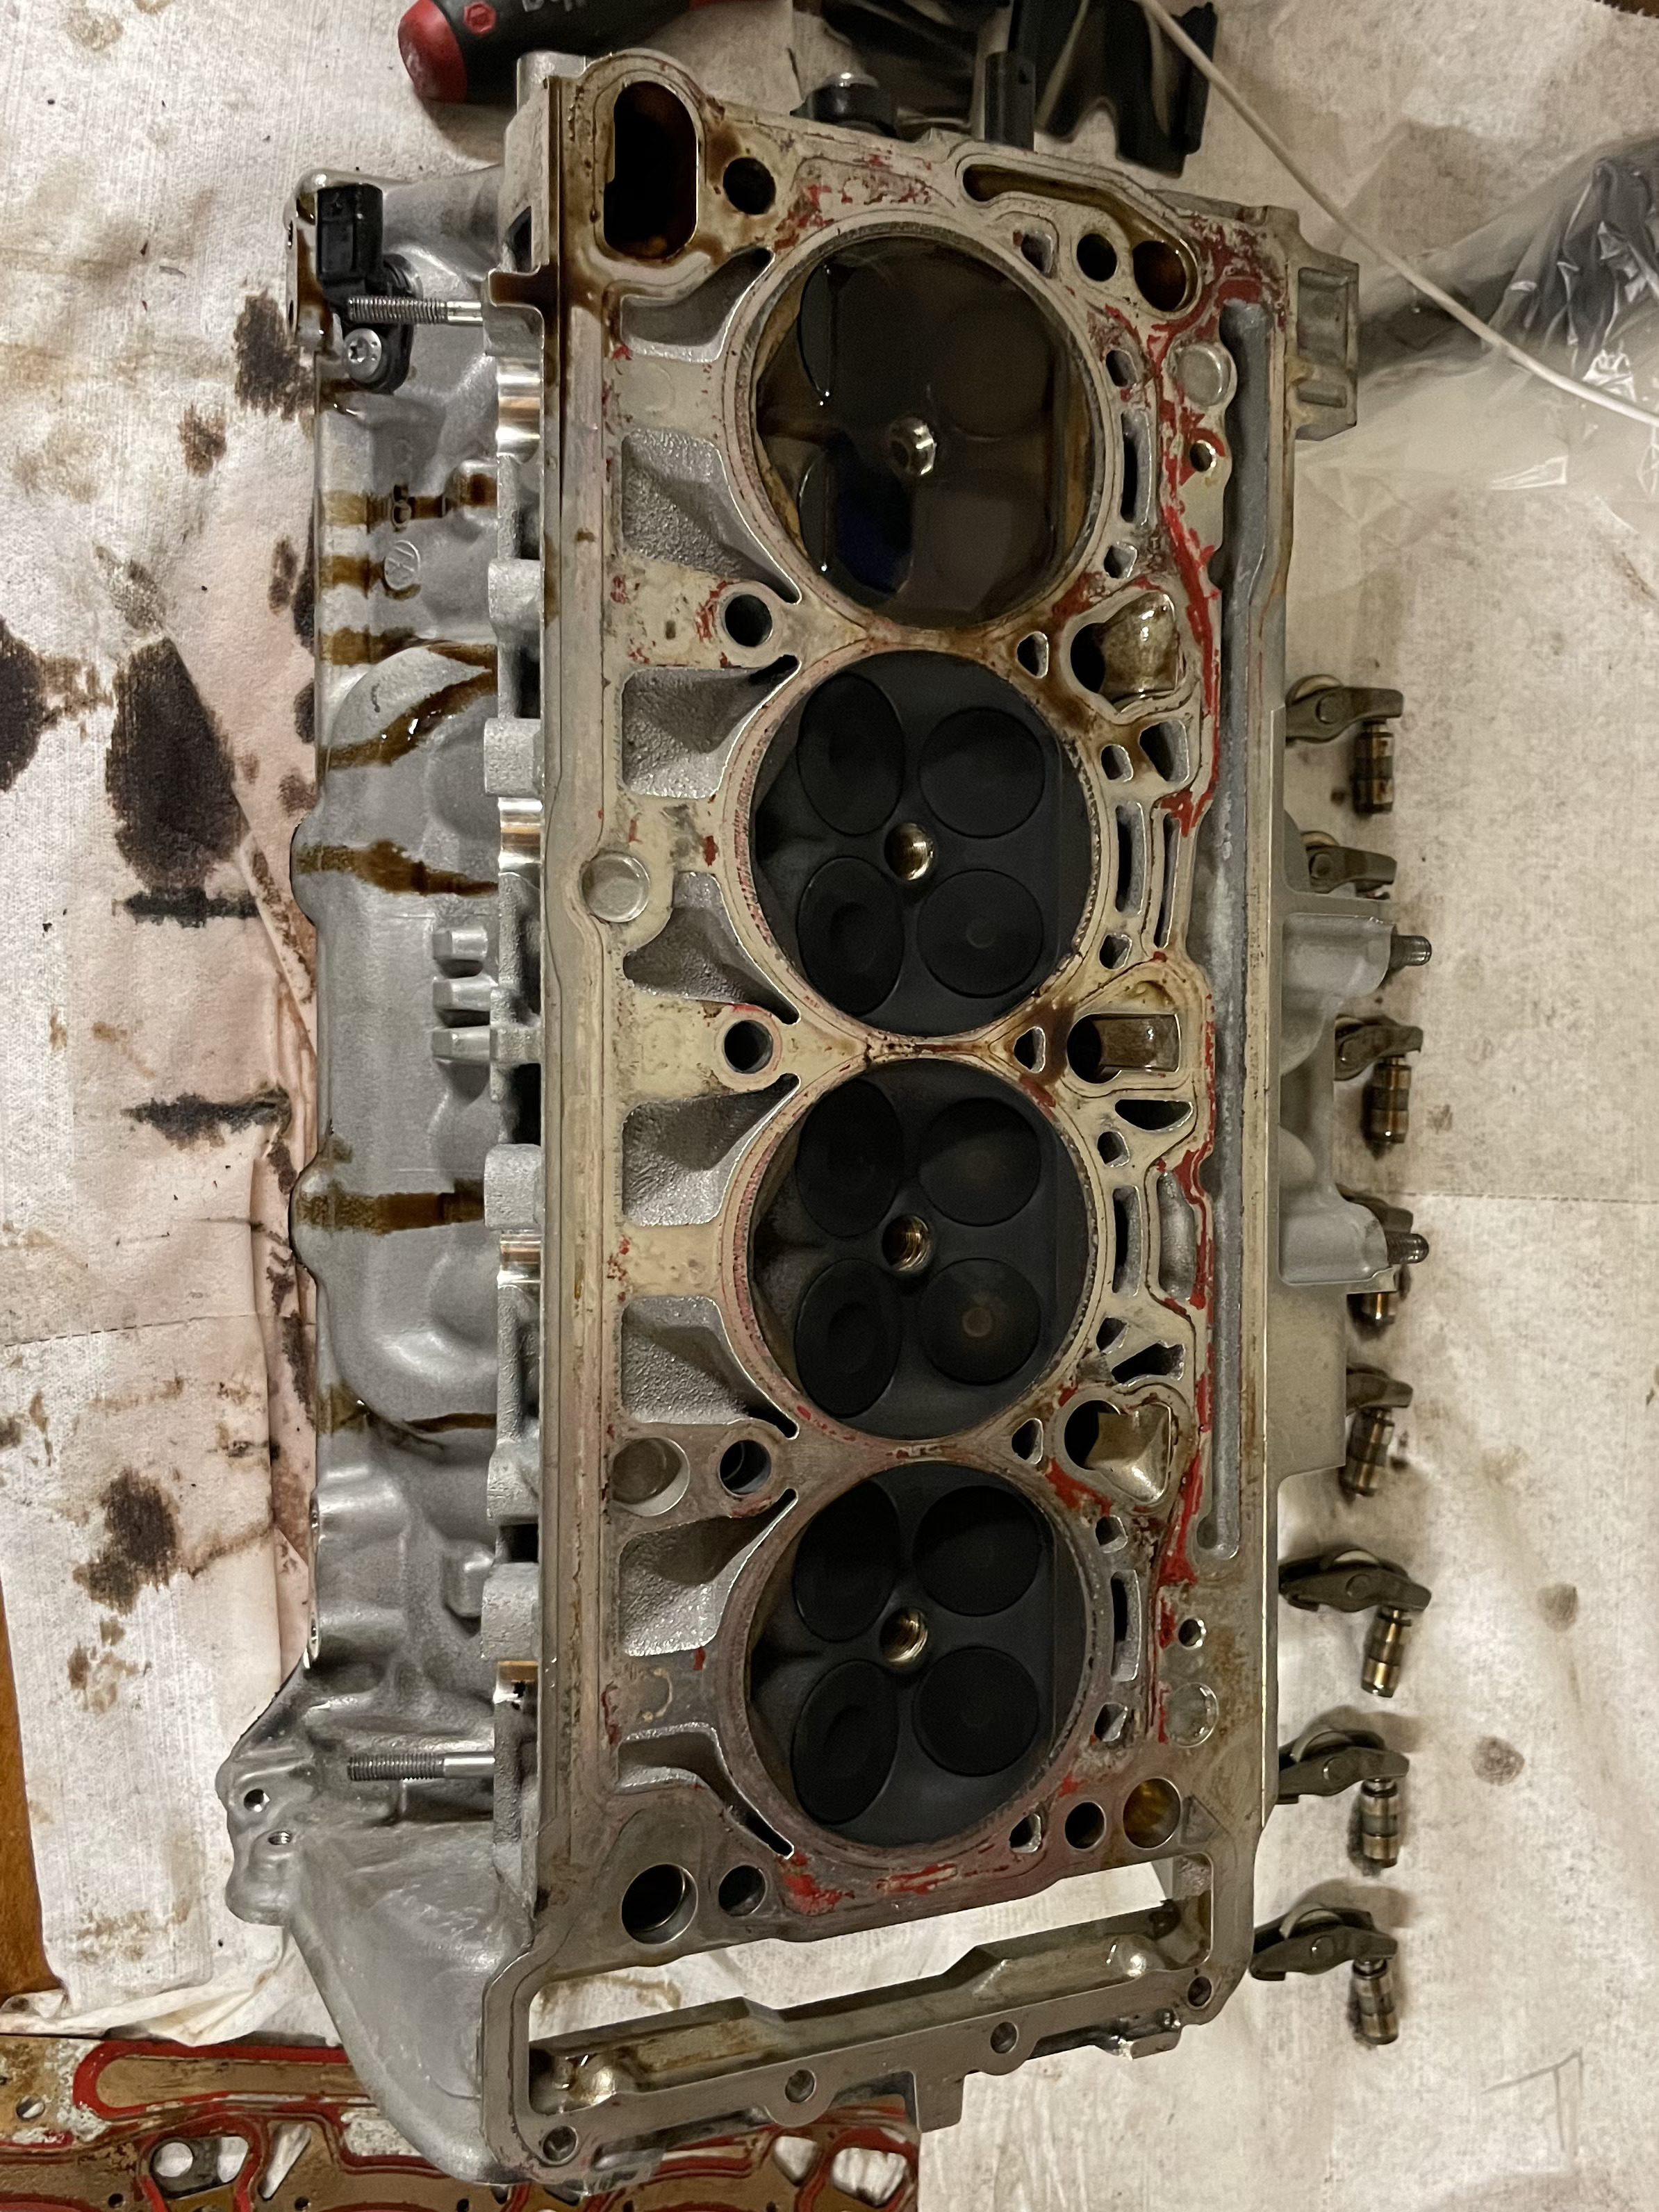 | 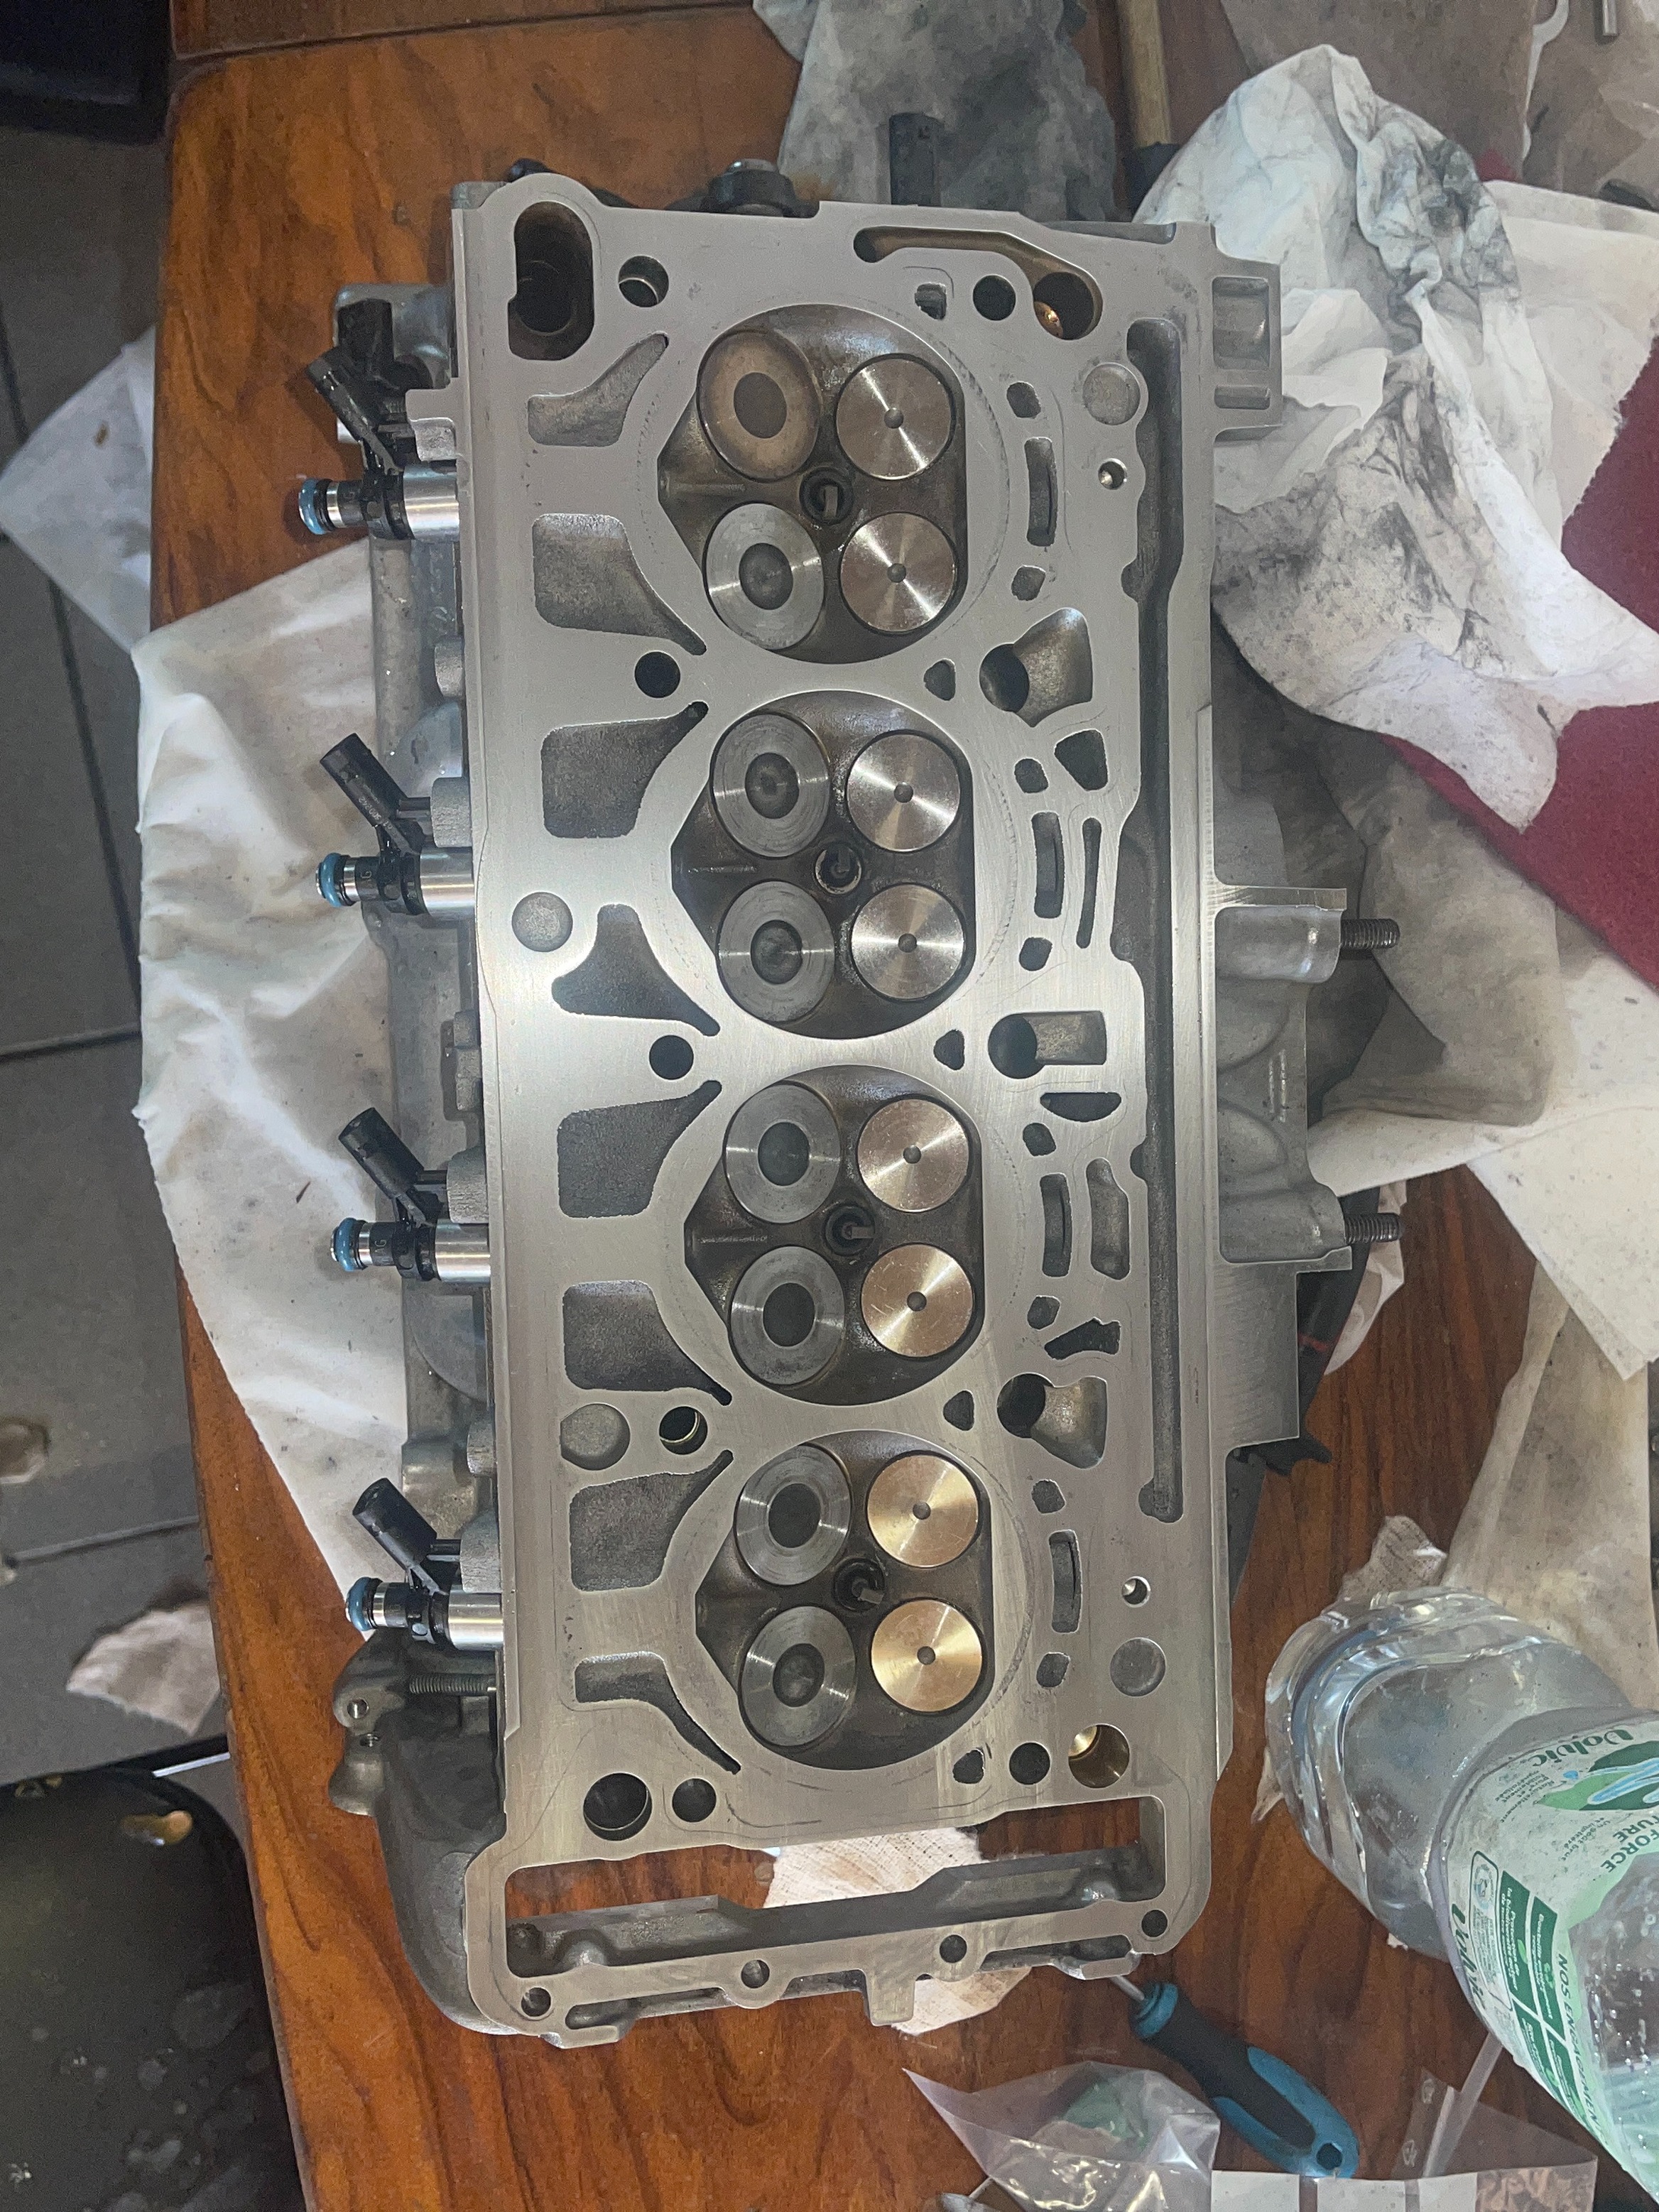 |
Challenges & Troubleshooting
The mechanical assembly went smoothly, but the first start attempt failed.
- The Symptom: Pressing the electronic key resulted in… silence. No crank.
- Initial Thought: Immobilizer failure or a fuse issue (unfamiliarity with this specific electronic key system).
- The Fix: After scanning the error codes, the solution was embarrassing but simple—a loose ground cable on the starter motor.
Results
After tightening the ground connection, the car fired up immediately. It has been running perfectly since the rebuild, with no oil consumption issues thanks to the updated piston rings.
| Before cleaning | After cleaning |
|---|---|
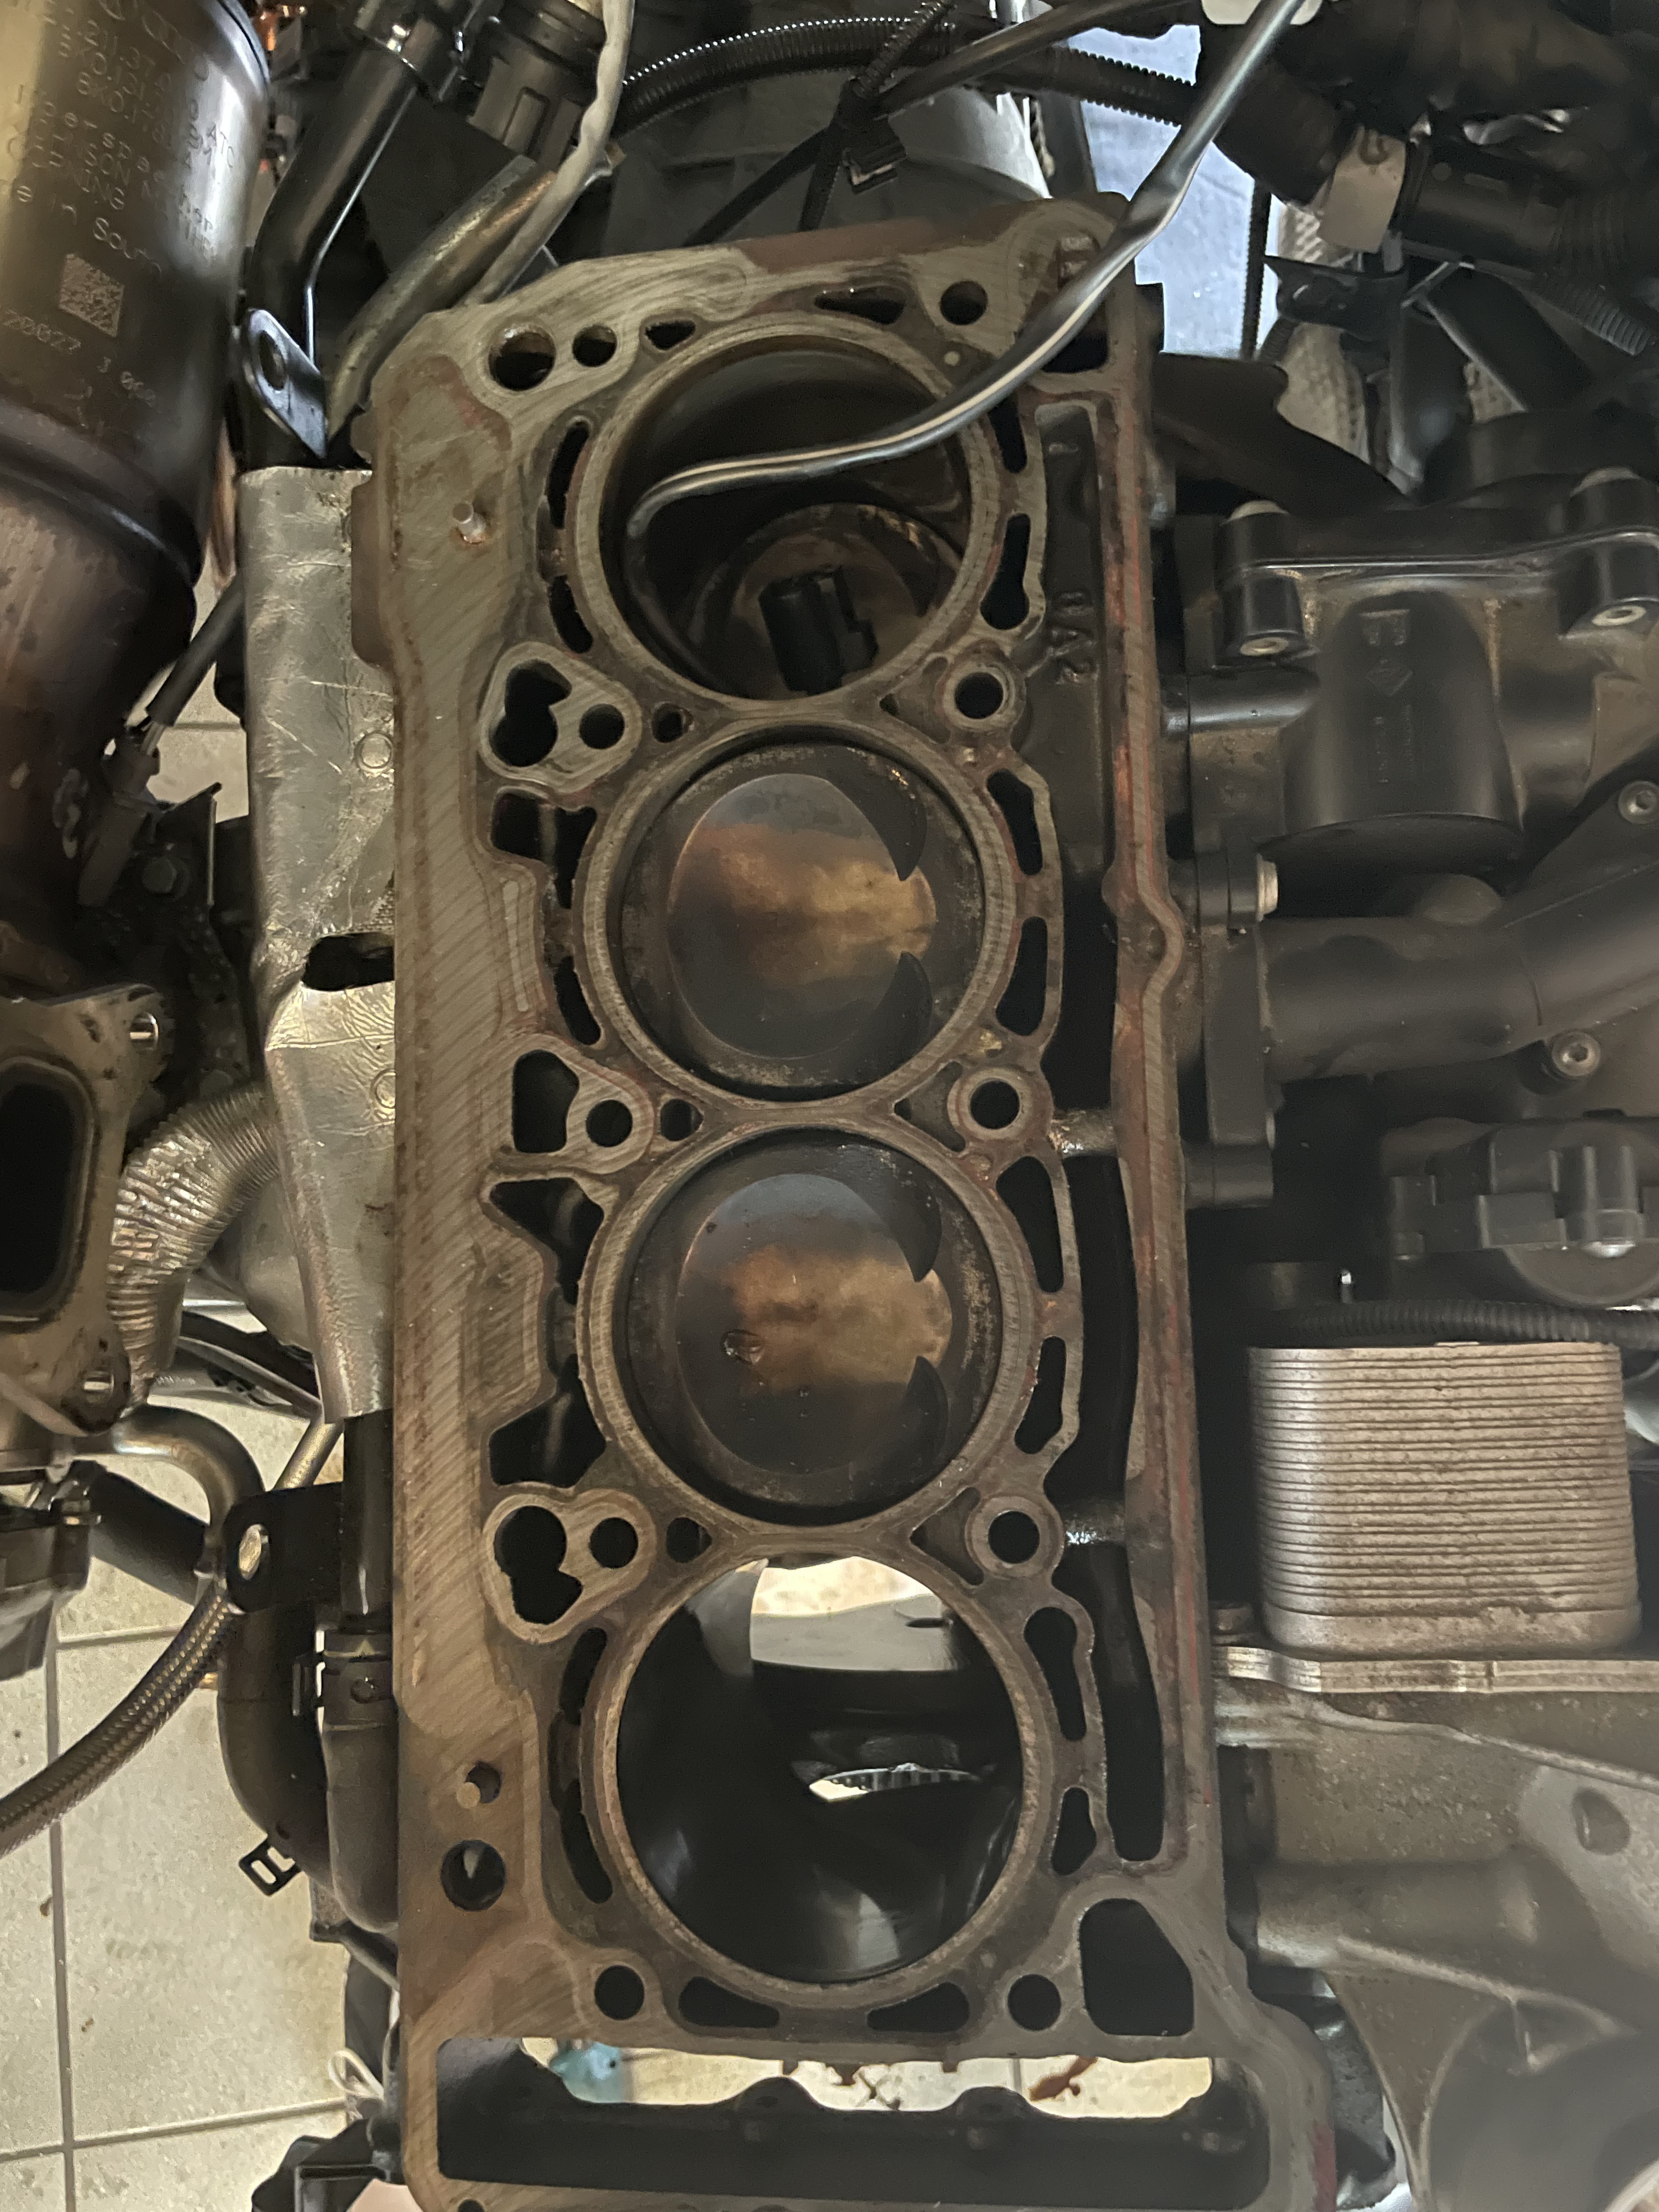 |  |
Engineering Mindset
This project highlights my approach to troubleshooting complex systems—whether mechanical or software. The process is identical:
- Isolate the variable (Diagnosis vs. Debugging).
- Consult documentation (Workshop Manual vs. API Docs).
- Implement a root-cause fix (New rings vs. Patching the bug).
I don’t just treat symptoms; I build specific solutions to prevent regression.